Removing floor tiles can look like a big job. But with the right tools, a little care, and a clear plan, you can do it yourself. This guide takes you through the full process in simple steps. It will help you stay safe, work clean, and avoid damage to the subfloor. Whether you are replacing old tiles, fixing a damaged area, or planning a full renovation, this guide tells you everything you need to know.
Know What You Are Working With
Before you start, take a moment to check the type of tiles you have. Most homes have ceramic, porcelain, or stone tiles. Ceramic tiles break more easily. Porcelain tiles are harder and may take more effort. Stone tiles like marble or granite can be heavy and tough to lift.
Next, check how the tiles are fixed. Some tiles sit on a thick bed of mortar. Others are attached with a thin adhesive layer. Some older homes may have tiles laid on wooden boards. Knowing this helps you prepare the right tools and plan your time.
Gather the Right Tools and Safety Gear
Tile removal can get messy. Pieces can fly, and dust can spread quickly. Having the right gear will make the job safer and easier.
Tools you need:
A hammer
A chisel or bolster
A utility knife
A floor scraper
A pry bar
A drill with a masonry bit (optional)
A bucket and brush
Heavy-duty bin bags
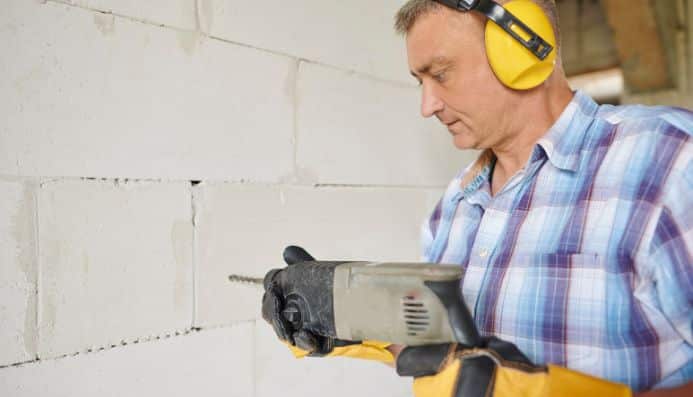
Safety gear:
Safety goggles
Dust mask or respirator
Thick gloves
Knee pads
Ear protection
Do not skip safety gear. Tiles can crack sharply, and the dust is harmful if you breathe it in.
Prepare the Area
Start by clearing the room. Move all furniture out, and take off any loose items from shelves. Removing tiles creates a lot of dust, so cover nearby doors with plastic sheets to stop dust spreading around the house.
Take off skirting boards, if possible. This helps keep the edges clean and avoids damaging the boards during tile removal.
If your tiles run under appliances, move the appliances away from the tiled area. Turn off the power and water supply before moving heavy items like dishwashers or washing machines.
Related: How to Grout Tiles ?
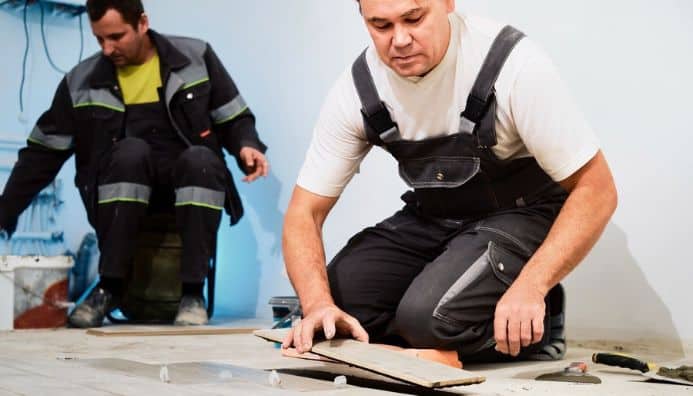
Start with the First Tile
The first tile is always the hardest. Once this is out, the rest come out more easily.
A good place to start is a loose or cracked tile. If none are loose, begin near a doorway because tiles there often lift faster.
Steps to remove the first tile:
Use the utility knife to cut through any grout around the tile.
Place the chisel at a slight angle under the edge of the tile.
Tap the chisel gently with the hammer.
Keep tapping until the tile starts to lift.
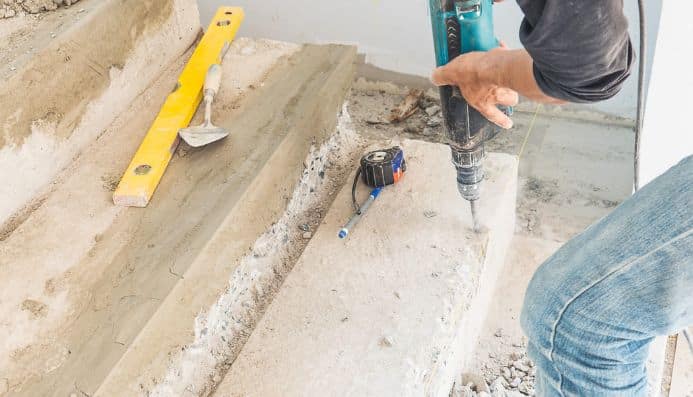
If the tile does not lift, drill a few small holes into the tile to weaken it. Then try again with the chisel. Take your time and work slowly. You want to avoid damaging the subfloor below.
Remove the Remaining Tiles
Once the first tile is out, slide your chisel or scraper under the next tile. Work at an angle and use light taps. If the tiles were installed with a thick adhesive bed, they may be harder to lift. Keep moving steadily across the floor.
If the tiles break into smaller pieces, this is normal. Just scoop the pieces into a bucket as you go. Do not try to keep tiles whole. The goal is to clear the surface safely, not to save the tiles.
For large rooms, take short breaks. Tile removal can be noisy and tiring, especially on the knees and back.
Remove the Adhesive or Mortar
Once all tiles are removed, you will see a layer of adhesive or mortar left behind. This must be removed before installing new flooring.
For thin adhesive:
Use a floor scraper.
Hold it at a low angle.
Push firmly to lift the adhesive.
For thick mortar:
You may need a hammer and chisel.
Tap gently along the high spots.
Keep scraping until the surface feels flat.
If the adhesive is stubborn, a heat gun can soften some types of tile glue. But be careful not to burn the surface.
If your subfloor is concrete, small scratches or marks are fine. If it is wood, take extra care not to gouge the boards.
Clean the Subfloor
After removing the adhesive, sweep the dust and debris. Then use a damp brush or mop to remove fine dust. Let the floor dry fully.
Check the subfloor for cracks, loose boards, or uneven spots. This is the best time to fix them before laying new flooring. A smooth and clean subfloor makes future installation much easier and helps tiles or other flooring last longer.
Dispose of the Old Tiles Properly
Tiles are heavy, so do not overfill bin bags. Use strong rubble bags if possible.
Many local recycling centres have a drop-off area for building waste. Ceramic and porcelain tiles can often be recycled as crushed aggregate. Always check local rules before disposing of rubble.
Avoid putting heavy tile waste in normal household bins, as this may not be allowed by your local council.
Common Problems and How to Handle Them
Tiles not lifting
If tiles refuse to budge, make cross-shaped cuts into the tile with an angle grinder. This weakens the tile and makes removal easier. Wear a mask because this creates a lot of dust.
Subfloor gets damaged
Small dents can be filled with a floor levelling compound. Larger damage may need repair before laying new tiles.
Too much dust
Use a damp cloth to wipe surfaces regularly. Keep windows open for ventilation. Consider using a vacuum with a HEPA filter.
Tips for Faster and Safer Tile Removal
Always work in small sections instead of tackling the whole floor at once.
Use knee pads to protect yourself during long hours of kneeling.
Keep children and pets away from the area.
Take your time with stubborn tiles to avoid damaging the subfloor.
Keep tools sharp and clean. A blunt chisel makes the job harder.
When to Call a Professional
Most DIYers can remove floor tiles, but some situations are better handled by a professional, such as:
Tiles laid with very thick mortar
Floors with underfloor heating
Homes with asbestos-backed tiles (usually very old floors)
Very large rooms or commercial spaces
If you suspect asbestos, stop immediately and get expert advice.
Final Thoughts
Removing floor tiles takes time, patience, and the right tools. But once you understand the steps, it becomes a simple task. Start with good preparation, focus on safety, and work methodically across the room. With care and effort, you will end up with a clean, smooth surface ready for your new flooring.